10 Ways To Improve Your Webcam Interviews and Broadcasts


For Interviewers and Those Being Interviewed
In this article I discuss the many ways to improve the webcam interview process for both interviewers and those who are being interviewed. In truth, ultimately who benefits are those watching the actual broadcast – the audience. To that end, if you are being interviewed just once in a while, you may only want to do a few critical things to help ensure you sound good. On the other hand, if you are interviewed on a regular basis or you plan to have your own web show and interview others (or simply broadcast to your audience), then consider implementing most or everything I have listed in this article. And if you want to go pro, do everything I suggest and take a look at my full production list at the end of this blog.
Wondering what I look like and how I sound in actual broadcast? Click here to watch a live stream I did over the summer of 2020 about President Trump.
(ESSENTIALS) If You Are Going To Be Interviewed
1) Restart your computer prior to the interview to clear your RAM / memory and launch ONLY the programs you need for the interview (e.g., SKYPE). This helps to ensure there is enough memory to handle the video and audio feed.
2) Connect your computer to the router via an Ethernet cable and ensure Wi-Fi is turned off to create a better signal strength. If you cannot do this, get as close to the Wi-Fi router as possible.
3) Use a USB headset or ear buds with a microphone to ensure best audio quality. Using the computer microphone and speakers will create a hallow and echo sounding voice for the audience and therefore be difficult to understand.
4) Put your camera at eye level and be sure to turn off any bright lights behind you or close any curtains if there is a bright window behind you. This ensures the auto exposure on the web camera does not expose for the bright light behind you, instead of exposing your face.
These are the most critical things to do to help ensure the audience can see and hear you without image freezing and audio distortion / echo.
The 3 Web Camera Interview Broadcast Categories
When thinking about broadcasting your image and voice to the world, whether as an interviewer or interviewee, the three main elements are: 1) everything surrounding the computer hardware, software and Internet connection and the resultant broadcast capability of these three combined, 2) the audio quality, and 3) the visual quality. If the computer hardware, software and Internet connection are not good enough, there will be sound and/or image freezes or distortions. Poor audio quality makes it difficult for the audience to hear while poor image quality makes it difficult to see. Since a web video interview is simply a “talking head” without much “visual information,” the most important thing you can focus on is audio quality. The actual information / story being discussed is what the audience is most interested in (e.g., what you have to say). Therefore, make audio quality your first priority (which also means streaming quality so that there are not freezes and interruptions in the broadcast).
COMPUTER BASICS & INTERNET CONNECTION
1) Use An Ethernet Cable To Connect Your Computer To Your Modem
Video interviews require a lot of bandwidth and connecting wirelessly via Wi-Fi can be a problem and cause audio and video degradation. So, connecting your computer via an Ethernet cable (and turning off Wi-Fi!!!) is super important! This is a top priority!
2) Clear The RAM / Memory Prior To Broadcast (FREE!)
Broadcasting video and audio requires a lot of memory (RAM) and the easiest and fastest way to clear the memory prior to a broadcast is to reboot your computer and then open ONLY the applications you need for the broadcast. That might be email for a link, a web browser and maybe one other application, like Zoom or Skype. Keep all other apps closed during the broadcast, unless they are used during the broadcast (e.g., PowerPoint).
3) Buy More RAM / Memory – At Least 16 Gigs
If you are going to be doing a lot of interviews or plan to broadcast your own show, then I suggest you upgrade your RAM to at least 16 gigs, or more if you can afford it. This helps to ensure you always have plenty of memory for the broadcast. If you are on a Mac, www.owcdigital.com and www.crucial.com are good choices for memory.
4) Increase Your Internet Connection Speed
The faster your Internet, the better the connection for video broadcasting. If you plan on doing a lot of interviews or setting up your own broadcasting to an audience, then speeding up your Internet connection is money well spent. I am on Spectrum Internet Ultra and I have 400 Mbps download and 20 Mbps upload. The UPLOAD speed is really important. Try to get that as fast as possible. Contact your Internet Service Provider to see what your options are and their pricing.
5) Upgrade Your Computer (Optional!)
If you have an old computer, it may be time to do an upgrade if you plan on doing a lot of interviews or will be broadcasting regularly to an audience. For broadcasting to my audience, I use an iMac and in terms of bang for buck, I think an iMac is the way to go. If you go this route, be sure to upgrade to at least 16 gigs of RAM when you make the purchase and consider getting their Apple Care, which is a three-year warranty.
AUDIO QUALITY
6) Use a USB Headset or an Earbud Microphone
Using the computer built in microphone and speakers will cause audio feedback during an interview and the sound will have echo in it and not be clear. This can be remedied with a USB headset or earbud microphone (e.g., what comes with your cell phone). Although it is true that we want to see you during the interview, being able to CLEARLY hear you is the most important of all. The absolute best way to clearly hear you is to have a USB headset with a microphone next to your mouth. The next best option is an earbud connection like what is used to talk on a cell phone. I recommend this Sennheiser USB headset.
VISUAL QUALITY
7) Put Your Web Camera At Eye Level (FREE!)
Many people use laptops for their webcam interviews because of the built-in web camera, but using a laptop in a normal position would also mean looking down at the built in web camera, which is not flattering. Whatever web camera you are using, the best visual will be if your camera is at eye level. In the case of using a laptop, placing the laptop on some thick books or other solid objects will give the web camera much needed height for a more pleasing composition.
8) Reduce Or Eliminate Bright Background Lights (FREE!)
Web cameras use automatic exposure and so a bright window or bright light behind you could cause undo distraction or even cause the auto exposure to darken your face. It’s best to turn off lights behind you or close the shades to eliminate any distracting lighting that is in direct view of the camera.
9) Use A Ring Light For Better Face Lighting
If you do not have a solid light source for your face (e.g., big window, lamp, etc.), which would be behind your web camera, one option is to purchase an inexpensive ring light that can be easily placed in front of you. Lighting up your face will make your image crisp and less grainy, thereby creating a better experience for viewers. Find a ring light
10) Use An External USB Web Camera For Sharper Video
The built-in web cameras on laptops and other computers are low quality, though, they will work. If you’d like to have a better image quality, consider purchasing an external web camera – I’ve run tests and they do look better than a built-in web camera. Find an external web camera
BONUS: HOW TO BUILD A PRO LIVE STREAMING STUDIO
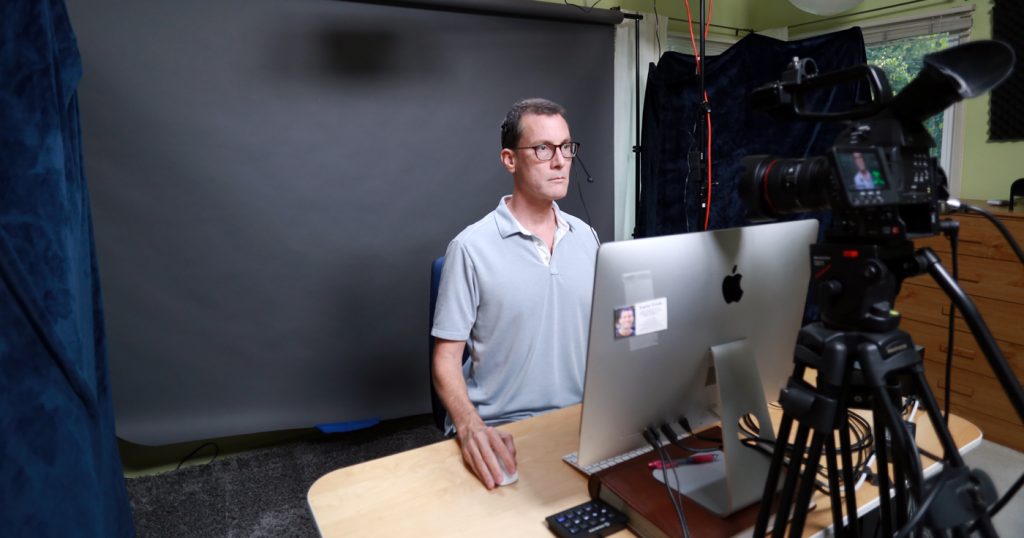
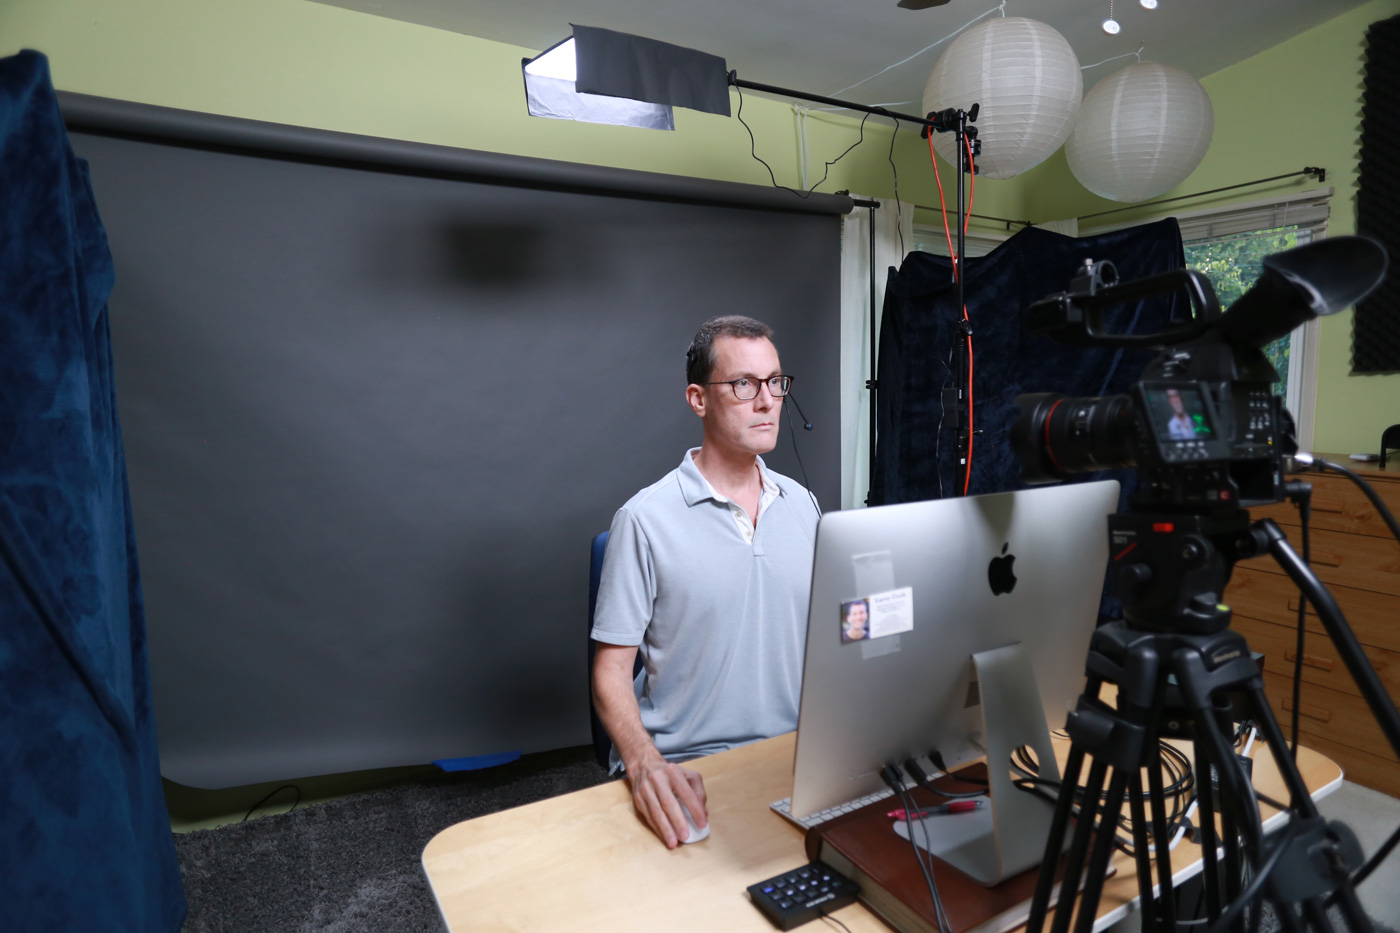
I have a background in video film production and I used that background to set up my own live streaming studio in my home (see photo above!). During 2020 I live streamed regularly to Facebook and YouTube until Facebook banned me and YouTube gave me several strikes and threatened to shut down my channel.
In this section I’m going to give you a quick overview of the equipment you need to get set up from scratch if you want to live stream to Facebook, YouTube and other platforms from your own home using an iMac.
Everything revolves around a central piece of software, called Ecamm Live, which is broadcast software for Mac that allows you to broadcast to the major social media platforms, do live interviews, see and post comments from live viewers, play pre-recorded videos, show the desktop or a website, add text and images, and do an amazing number of things, while live, as well as simply record to disk. I am a big fan of this software and it has come a long way since I first started using it. There are plenty of tutorials available to explain exactly how to use this versatile software.
If you want to stream to multiple destinations at once, say YouTube, your Facebook Page and your personal Facebook Profile, then the software to use is Restream. It’s not cheap, but it works really well and integrates perfectly with Ecamm Live.
Basically, to create a pro studio broadcast experience for your audience, you want to do everything I’ve already discussed in this blog post, which includes buying or using a fast iMac with at least 16 gigs of memory, using a USB headset, and then setting up more professional lighting and using a better video camera.
The visual image that people see will be MUCH BETTER if you use an HD camera that can throw the background out of focus, you use a professional light for your face (called a key light) AND use a professional light for your hair (called a hair light). You will want the video camera situated on a tripod.
I’ve created an Excel Spreadsheet with a list of the major items you will need to set up a pro studio for live streaming. You can download it here: Web Interview Studio Setup
If you are a medical freedom activist and want help or guidance to set up your own live streaming studio, I will be happy to talk with you on the phone at no charge. Simply email me at larry @ covid19refusers.com and give me as much detail as possible and I’ll be happy to chat with you and give you my best advice!
~ Larry Cook
Recommend0 recommendationsPublished in Freedom
Responses